
Tools | There are several tools in the tool bar that users can use to help in adding fields to a template in Designer.

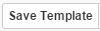
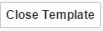
1. The first set of tools is the Save Template and Close Template icons.
a. Use the Save Template anytime you want to Save the work you have completed on the template.
b. Use the Close Template anytime you want to Exit the template.
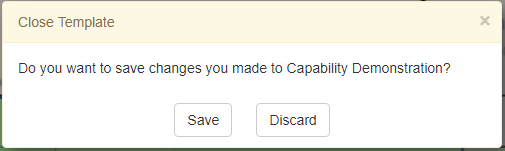
If you forgot to Save your template before clicking the Close Template icon, you will be asked if you want to Exit without saving or if you want to Save before closing the template.
2. The next set of tools is the Pointer, Pan and Zoom tools.
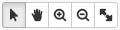
a. The Pointer tool allows you to move the fields from one place on the template to another. The Pointer tool also allows you to resize the field by clicking on one of the handles on the left, right, top or bottom.


b. The Pan tool allows you to move the screen from left to right and top to bottom while you are zoomed in on an area of the template.


c. The zoom tool allows you to zoom into an area on the template for precision field alignment.

d. When you are zoomed into an area and want to fit the template on the screen, just click the Fit Width icon and the template will fit on the screen again.

3. There are a series of copy and paste function as well in the tool bar.
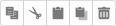
a. Select the field you would like to copy and click on the Copy icon.

b. If you want to cut a field, just click on the Cut icon.

c. To paste a field, click on the Paste icon.

d. To paste a field as a linked field, click on the Paste as linked field icon.

e. If you would like to delete a field, click on the Delete icon.

4. Once the field is on the templates, we recommend setting Field Properties, such as font type, size, color and alignment. These settings will display on the PDF which is shared via Dropbox, Email, print or through output.